This traditional and authentic Pakistani haleem is a hearty dish that can be prepared using everyday ingredients. Without sacrificing flavor, this Instant Pot chicken haleem is easy to make and takes less than an hour.
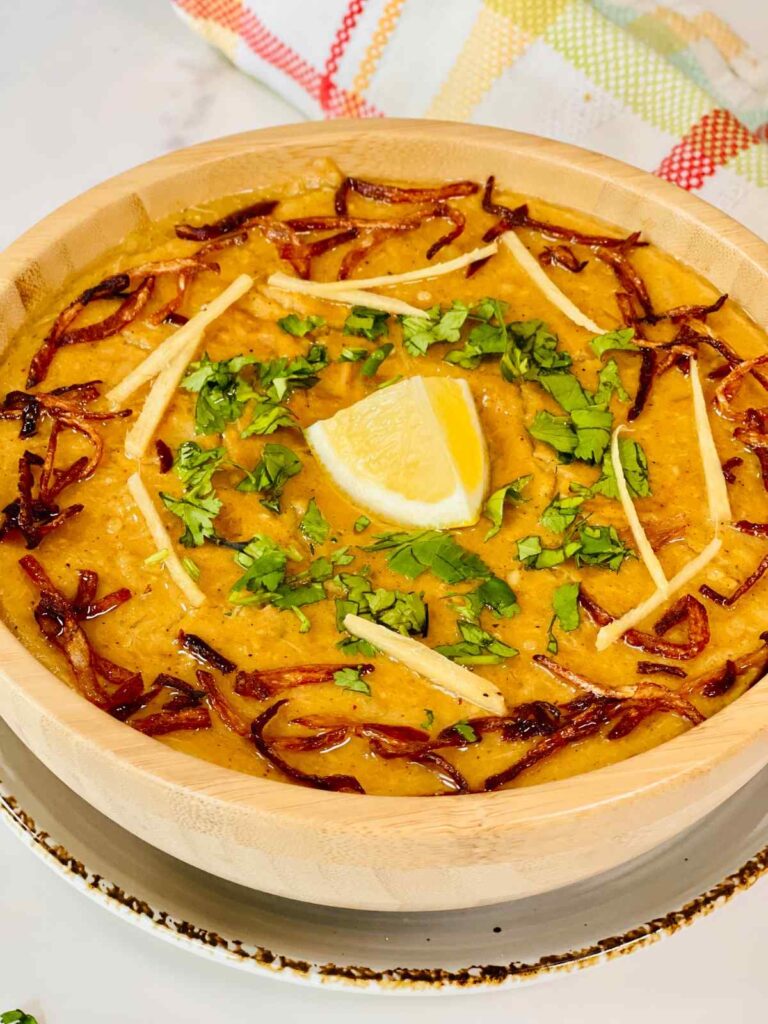
Chicken haleem is popular in Pakistan and parts of India, especially during Ramadan, Muharram, and Eid, or any other special occasion. Just like Biryani and Qorma, Haleem is also more than just a meal; it is a tradition served in a bowl.
Table Of Contents
- History Of Haleem
- Why You’ll Love This Chicken Haleem
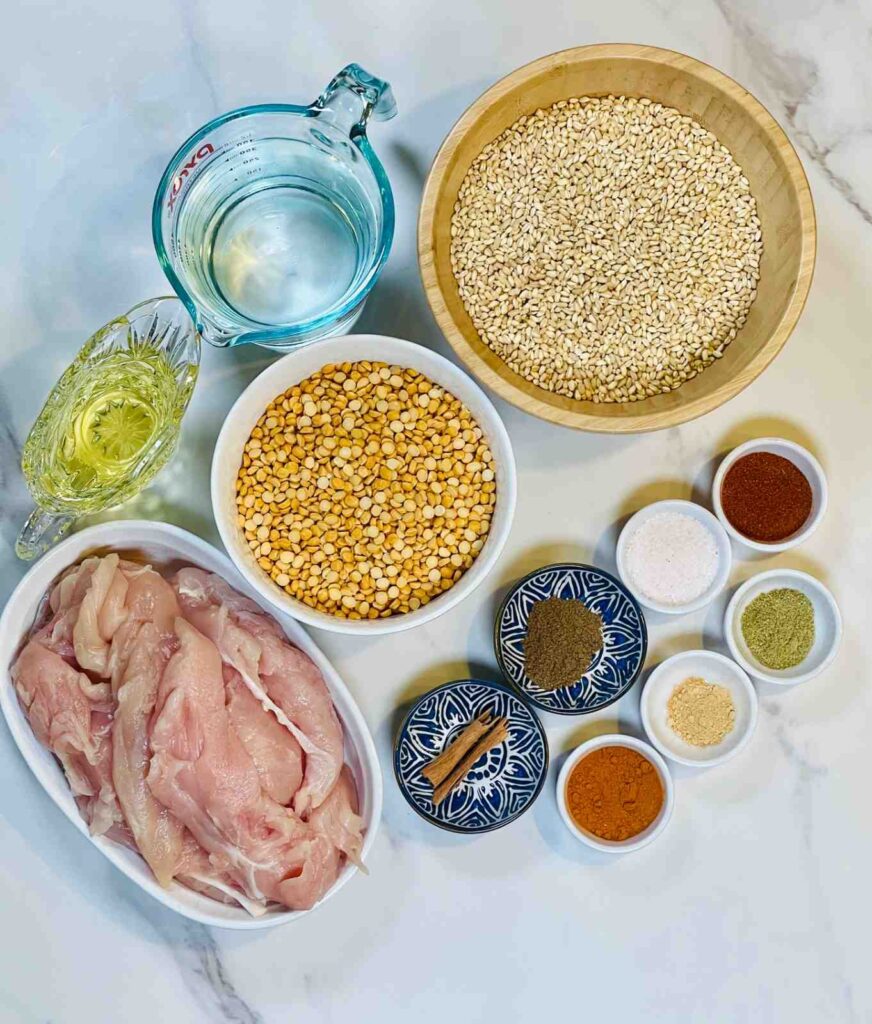
- Ingredients for the Chicken Haleem
- Step by Step Guide: How To Make Chicken Haleem
- How to Achieve the Signature Texture of Chicken Haleem
- Pro Tips for Making The Perfect Haleem
- How to Serve Haleem
- Make It Ahead and Store It
- Frequently Asked Questions
- More Recipes Like This
- Authentic Pakistani Chicken Haleem Recipe
History Of Haleem
The history of Haleem began around the 10th century. It is an Arabic dish that was originally prepared with meat, wheat, rice, and whole pulses. It traveled through Iran and Afghanistan during the Mughal era before reaching Hyderabad.
Why You’ll Love This Chicken Haleem
- Full of protein and fiber
- Great for meal prep and freezing
- Comforting, rich, and mildly spiced
- Perfect for Ramadan, Eid, or winter days
Ingredients for the Chicken Haleem
I have only used Channa Dal and whole wheat with basic spices for this chicken haleem recipe, which makes it not only incredibly simple but also so light that you can enjoy it to the fullest without compromising the flavor.
Step by Step Guide: How To Make Chicken Haleem
1. Soak & Cook the Lentil and Grain
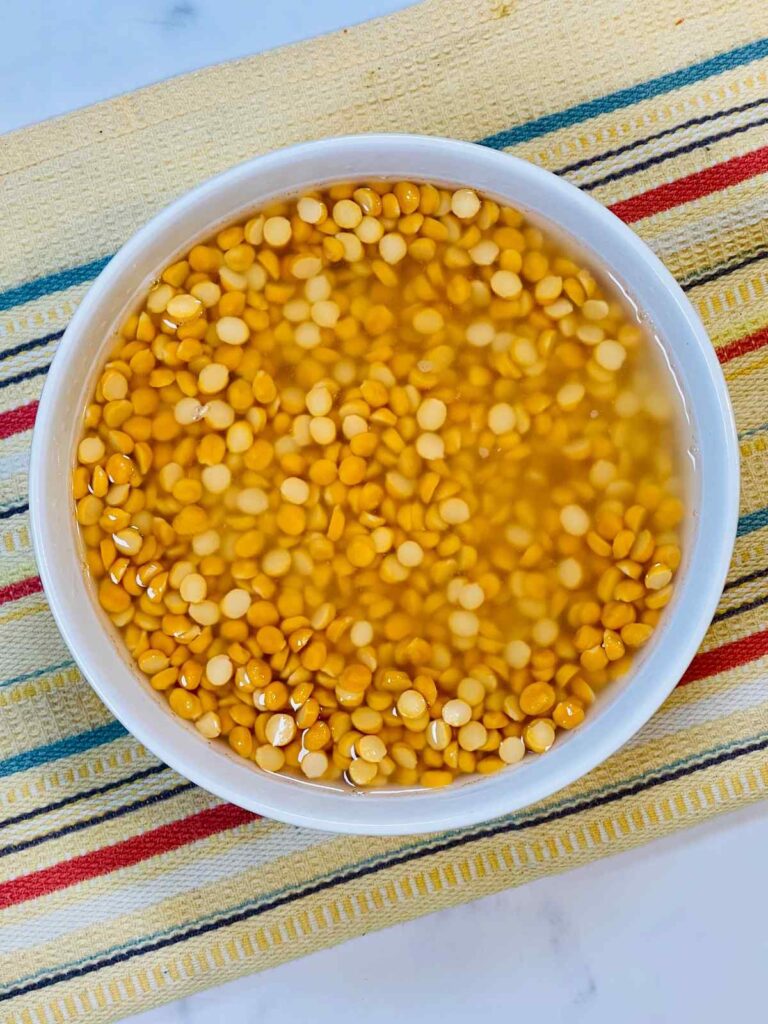
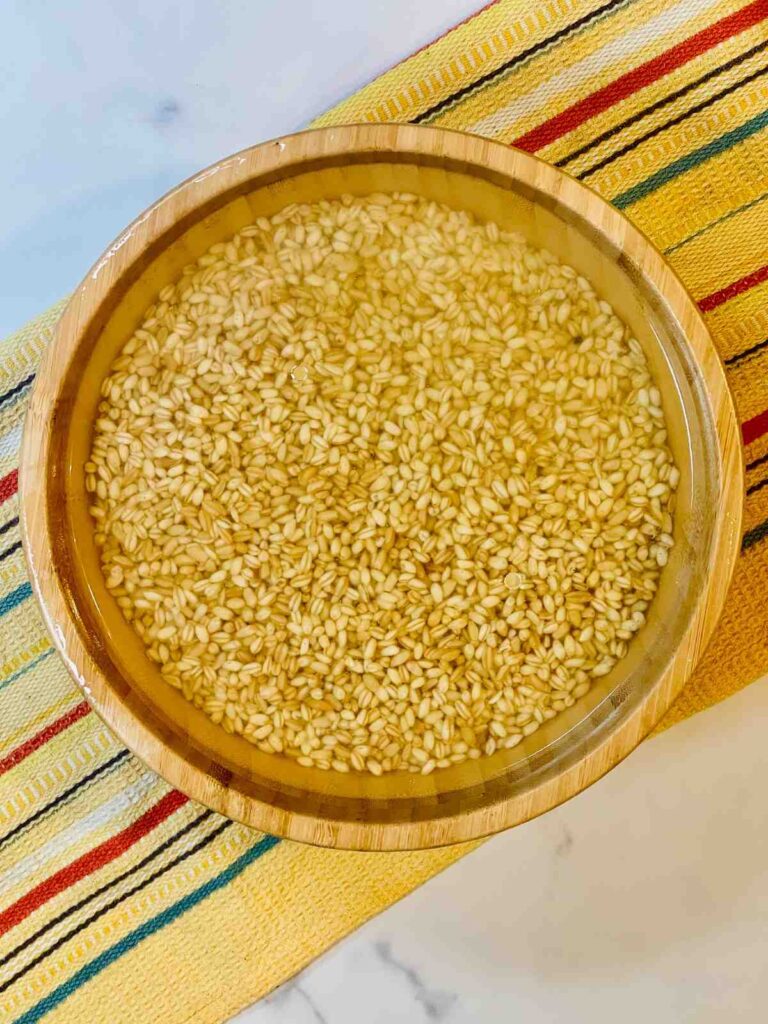
Thoroughly rinse the channa dal and whole wheat 2 to 3 times to ensure they are clean, then soak them in water for a minimum of 6 to 8 hours, or preferably overnight. This process not only enhances their texture and flavor but also maximizes their nutritional benefits.
3. Cook and Shred the Chicken
In a deep pot, heat oil or ghee. Add meat and stir in ginger-garlic paste. Add all dried spices. After the lentils are cooked through and the chicken is soft, separate the chicken and use forks to shred it finely.
4. Combine and Simmer
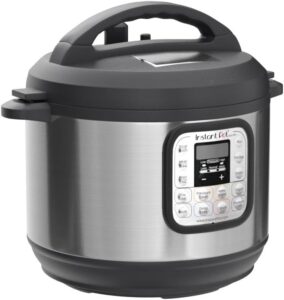
In an Instant Pot, add the cooked and blended lentil mixture along with the shredded chicken. Use a wooden spoon to combine everything. To prevent sticking, stir every five minutes and add water as necessary. Simmer on low for at least 20 to 30 minutes. Adjust the consistency with warm water or stock as needed.
How to Achieve the Signature Texture of Chicken Haleem
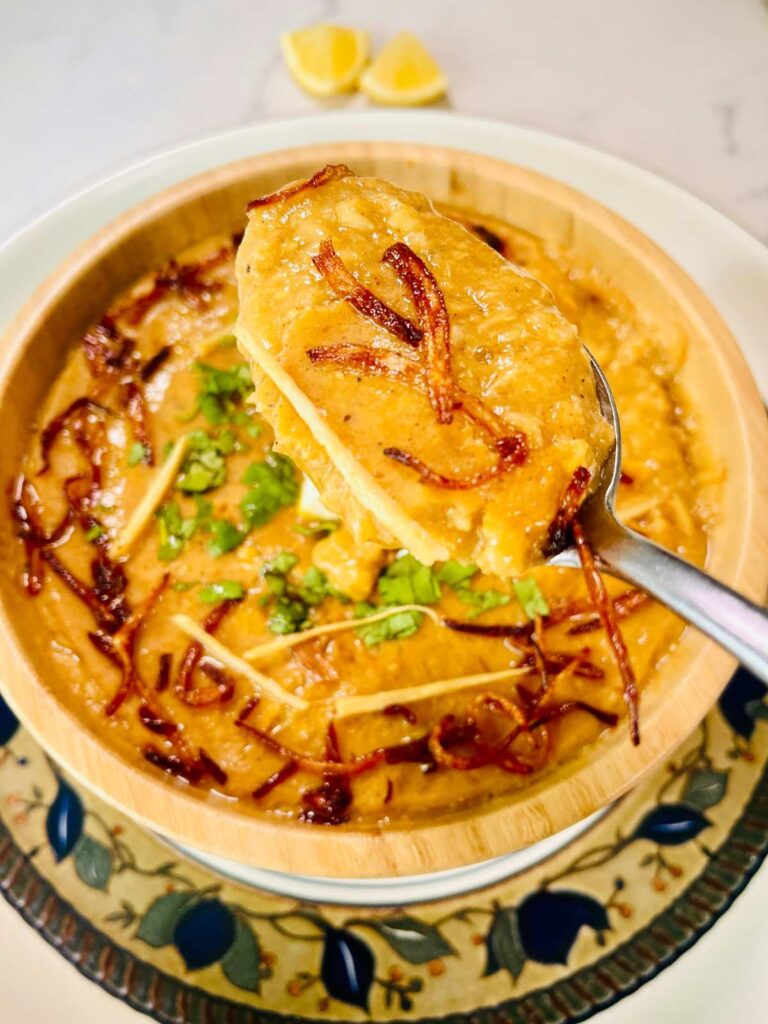
To make the perfect Reshay dar haleem, always shred the chicken into thin, thread-like strands and mix with ground lentils. Make sure that only 70–80% of the grain and lentils are blended; do not create a paste. This gives it a pull-apart “rashay dar “texture. With the right spices, time, and temperature, it’s easy to make authentic haleem at home.
Pro Tips for Making The Perfect Haleem
- Choose the right cut. Thighs or legs of chicken are a good choice because they are tasty and have a tendency to stay moist while cooking. Make sure your cuts are large enough to give it a rashay dar texture when you shred it.
- Slow cooking is key for deep flavor. Let it simmer low and slow.
- Hand blender You can use a hand blender to mix lentils for even mixing.
- Don’t grind meat; mash with a fork or spatula thoroughly for a perfect, rashy dar texture.
- Tarka Always fry onions until crisp and golden—they’re key to the aroma and taste.
How to Serve Haleem
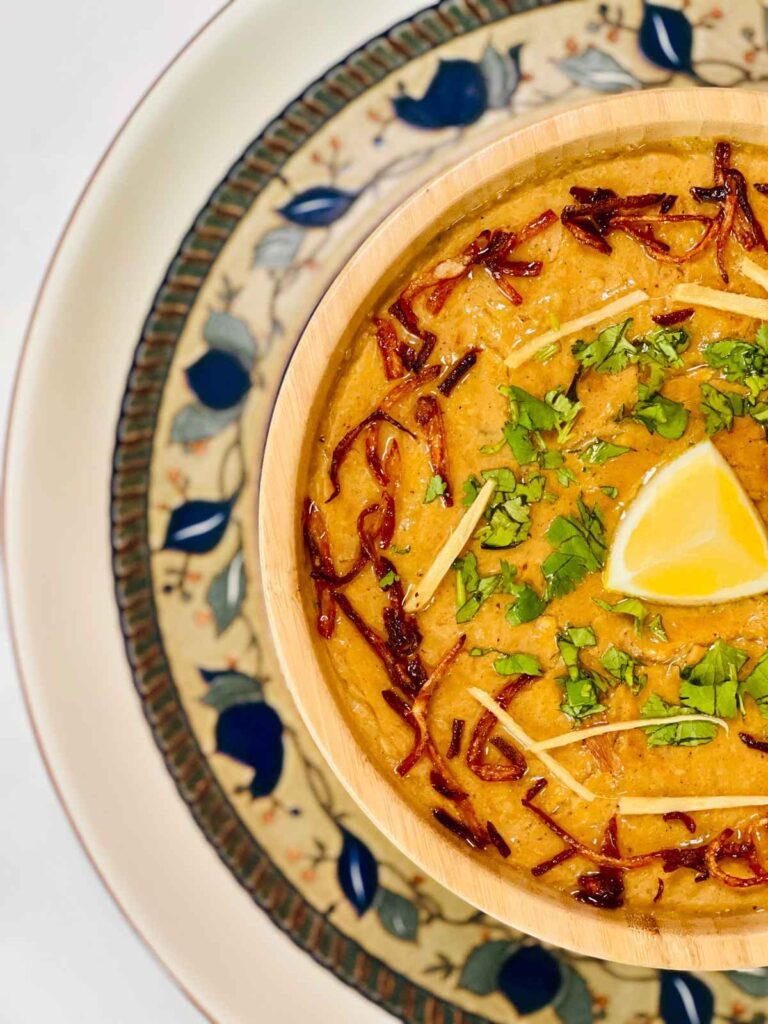
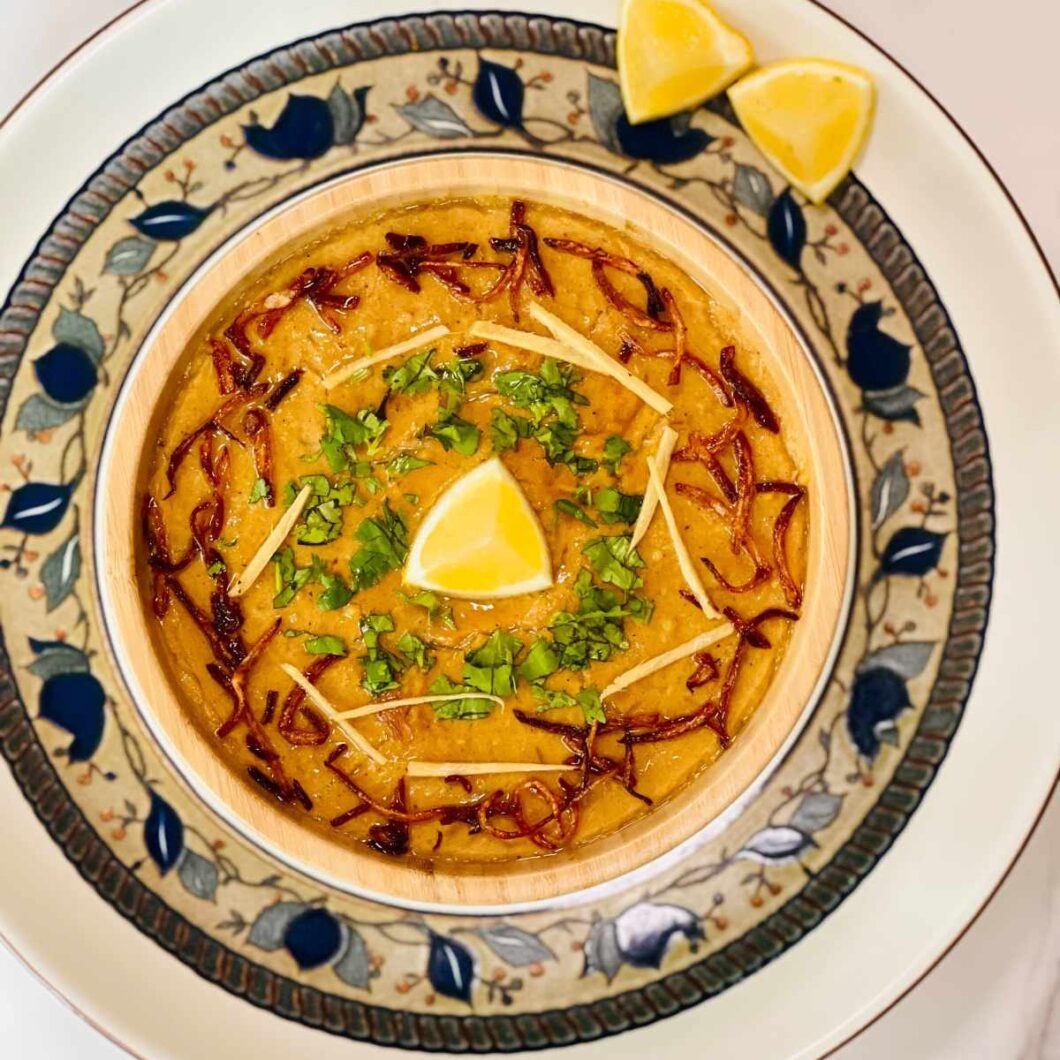
Haleem is served hot and topped with tarka of fried onions. Serving haleem is all about the garnishes that really boost its flavor and aroma. To make it pop, you’ll need some thinly sliced green chilies, julienned ginger, fresh coriander or mint leaves, and a lemon to squeeze over the top.
Make It Ahead and Store It
Haleem is a recipe that can be prepared in advance and frozen without compromising its taste and texture. If you’re planning to host a party, this dish is a must. You can make haleem a few days ahead of time, then simply thaw and reheat it before serving.
I always cook haleem in large batches so I can refrigerate it. Haleem stays fresh for 5 to 6 days in the fridge and can be easily frozen for up to a month. Just make sure not to add the tarka before freezing. When you’re ready to enjoy it, thaw and reheat the haleem, ideally on the stovetop, adding water to adjust the consistency. Finally, add the tarka and serve with the suggested toppings.
Frequently Asked Questions
What does “Reshay Dar” mean?
It means “full of fibers.” In haleem, it refers to the texture created by finely shredding the meat into strands.
Can I use mutton or beef instead of chicken?
Yes! The process is the same, but the cooking time will be longer. Use a pressure cooker for faster results.
Is haleem healthy?
Absolutely. It’s high in protein, fiber, and good carbs. For a healthier version, use olive oil, or you can totally skip tarka.
Can I freeze haleem?
Yes. Haleem is a dish that freezes exceptionally well without losing its taste and texture. Store it in airtight containers for up to two months. Reheat with a splash of water.
More Recipes Like This
- Beef Dum ka Qeema
- Mutton Pulao
- Chicken Karahi – Dhaba Style
- Daal Mash with Desi Ghee
I Love Seeing Your Reviews
If you have given this recipe a try or any other recipe from MasalaSecret.com, please do not hesitate to leave a comment below. Your feedback will assist others who are considering making the recipe. I am eager to hear about your personal experience while preparing it, and if you took any pictures, feel free to share them on Instagram. Don’t forget to tag us @masalasecret or on Facebook, so we can repost them on our stories.




Appreciate this post. Will try it out.